1 · Install the appliance
You need: a Debian 13 (trixie) machine — bare metal or a VM with the
QLogic FC HBA passed through — with Secure Boot off, root access, and
the release bundle openvtl-<version>.tar.gz. Sizing guidance (RAM drives
dedupe granularity; a dedicated SSD holds the dedupe table) is in the
product README and the sizing calculator; VM builds are
specced in docs/reference-vm-spec.md inside the bundle.
Deployment assumptions. The openvtld management UI and API are designed to run on an isolated management network; they are not hardened for exposure to untrusted networks or the internet. Network-level access control, and any authentication hardening beyond the built-in session auth, are the operator’s responsibility.
1.1 Verify and run the installer
Unpack the bundle and run the installer as root. It verifies the bundle’s Ed25519 signature and every file’s checksum before consuming anything: a tampered or truncated bundle is refused up front.
tar xzf openvtl-<version>.tar.gzsudo openvtl-<version>/repo/packaging/install.shThe installer is idempotent (phases: prep → mhvtl → openvtld → verify) and
takes roughly 10 minutes on first run — most of it building the ZFS and
mhVTL kernel modules via DKMS. It ends with a green
OpenVTL platform verified. block listing every acceptance check.
1.2 Reboot — FC boxes present no targets until you do
On a machine with a QLogic HBA the installer configures target mode
(qlini_mode=disabled) and finishes with:
FC box: REBOOT NOW to activate qla2xxx target mode — the host will not see the VTL targets until you do.
That means one reboot, before anything host-facing.
sudo reboot1.3 First-run setup in the browser
Browse to https://<appliance>:8443.
- Expect a browser certificate warning the first time — the appliance generates its own 10-year self-signed certificate at first start. Proceed past the warning (or install a site certificate later; runbook §0.1). This is normal and does not affect the host-facing data path.
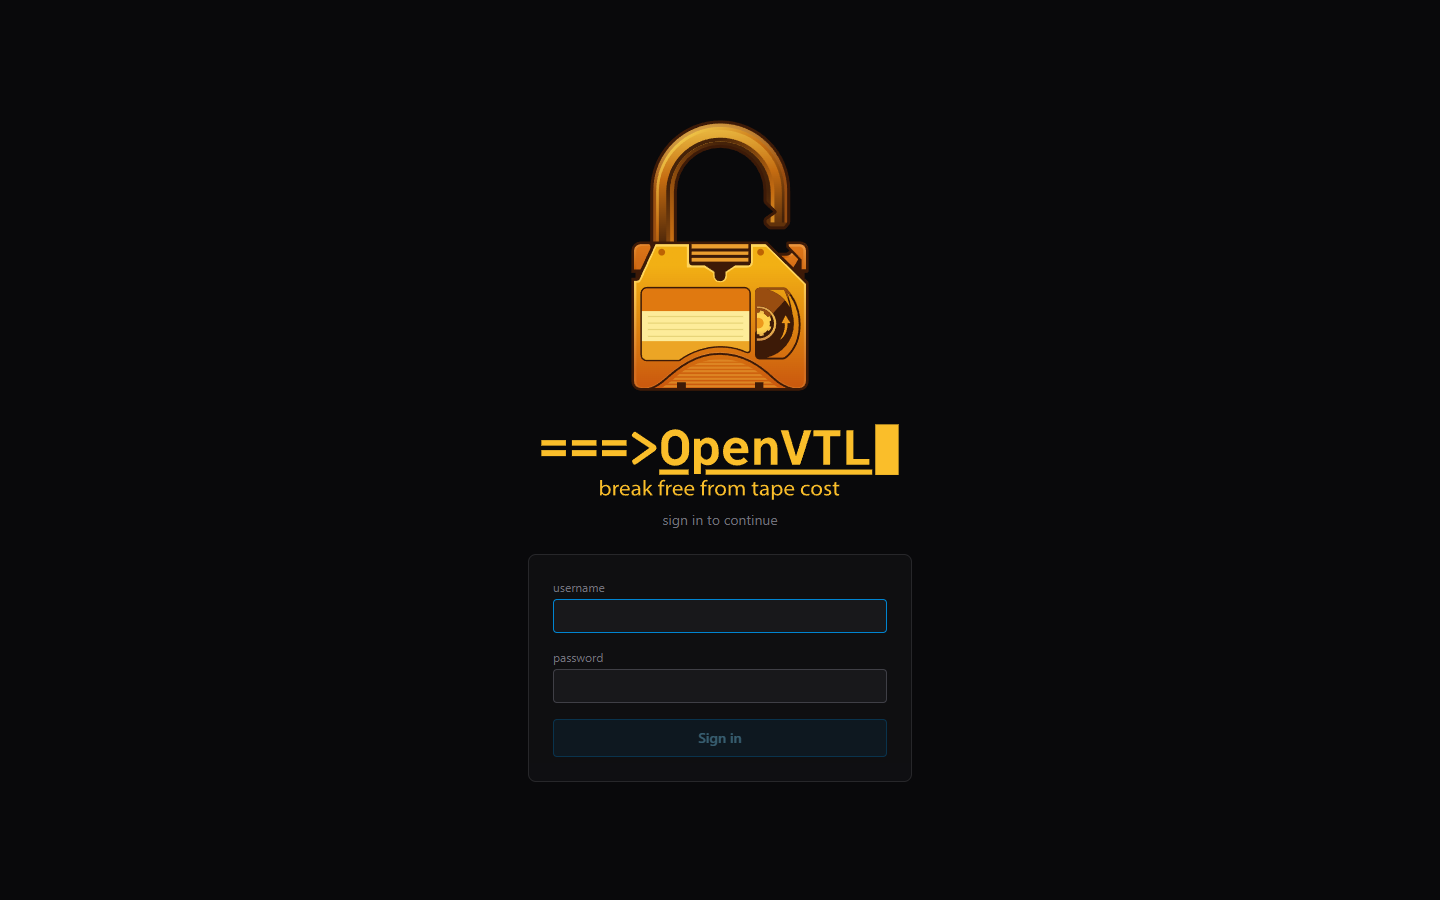
- There are no default credentials. The first page you see is the
create-admin form; until that account exists, every API call answers
409 setup_required. Pick the admin username and a password of at least 8 characters. More users (admin or read-only) can be added later under Settings → Users.
You land on the Dashboard: 0 libraries, 0 pools, and a banner reminding you that nothing is offsite yet. Next: storage and your first library.
Notes from the field
- Pick disks by size and type, not by remembered device names. Debian
can re-letter
/dev/sdXacross the install reboot (it did on our validation box). The Storage view identifies the OS disk by role and only offers safe disks — trust the size/type columns. - Keep the full installer transcript
(
sudo .../install.sh | tee install.log); the verify block at the end doubles as an acceptance record.install.sh --verifyre-runs the gate alone at any time.